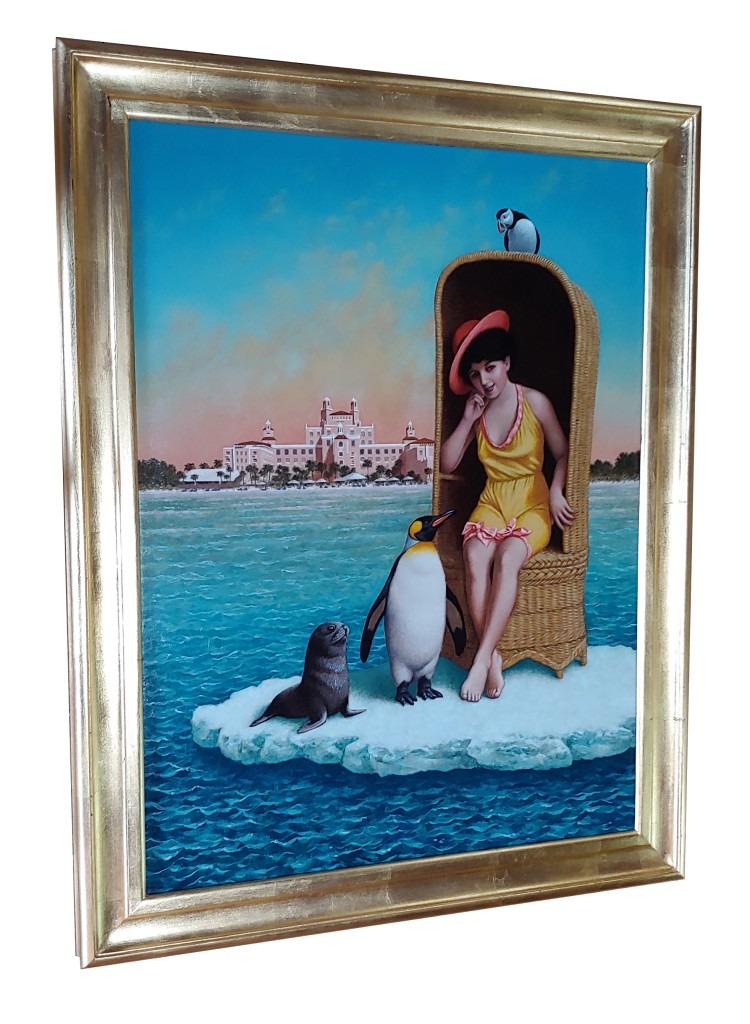
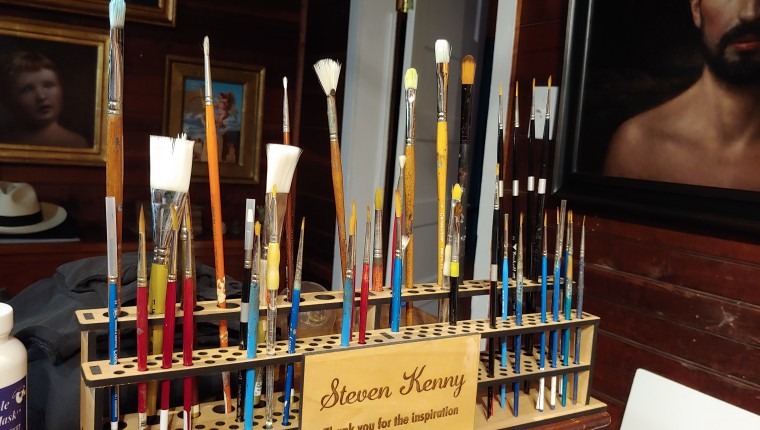
an Oil Painting on a Wall
. . .
Have you ever visited an art museum, stood in front of an Old Master painting, and wished you could have looked over the artist’s shoulder and watched the entire evolution of that work of art from start to finish?
What’s behind the canvas that the image is painted on? How did the artist begin the painting? What tools were involved? Why is the painted surface so shiny?
What follows is my own process of creating an oil painting from beginning to end. These days modern artists’ methods can vary widely but the steps I follow are not too far removed from the practice of the Old Masters – the major difference being the introduction of modern products and materials that have replaced many art supplies employed during the Renaissance.
Just as with the Old Masters, every painting of mine begins with an idea.
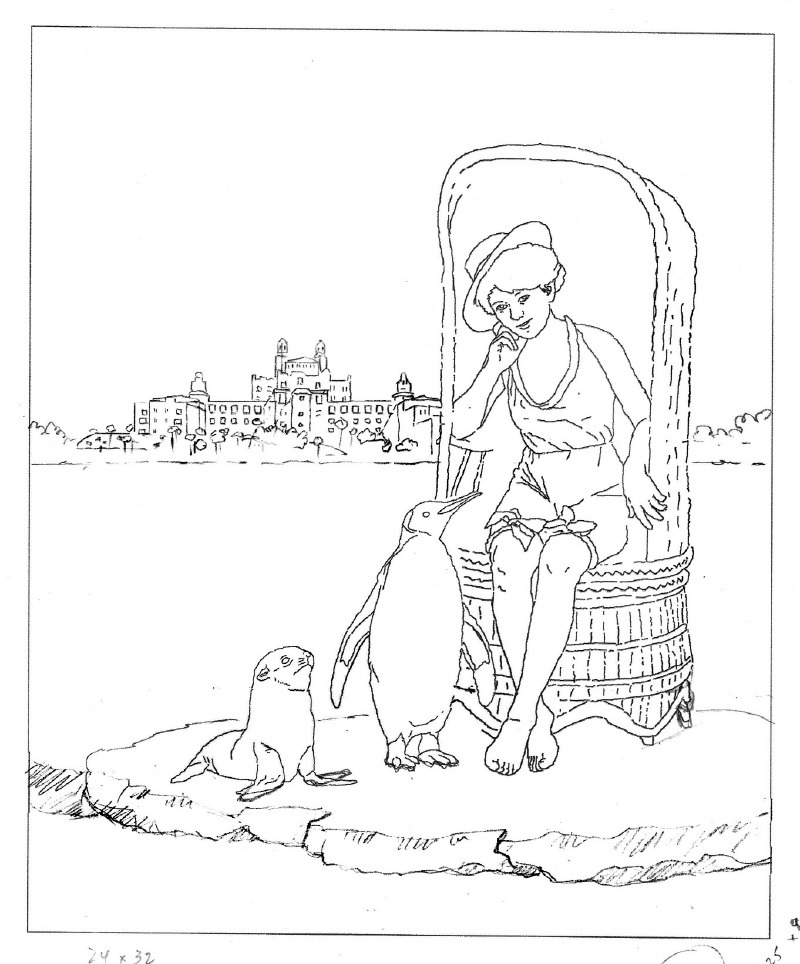
That idea gets refined through a series of pencil sketches. Size and dimensions are worked out and the sketch evolves to the point where I’m satisfied and ready to start painting.
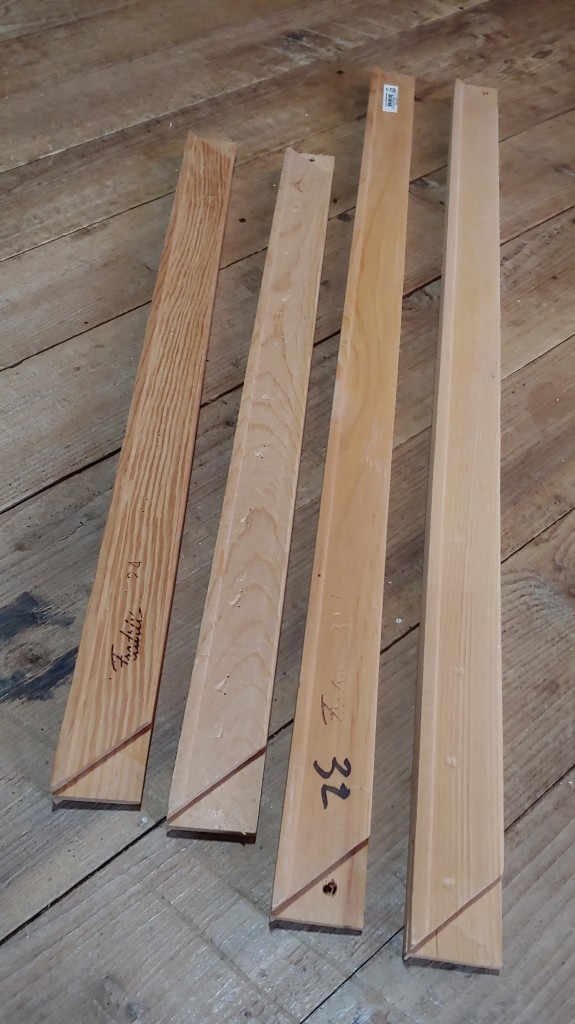
Once the dimensions are determined, the next step is to choose the appropriate wooden stretcher bars. These wooden strips fit together snugly at the corners to create the “stretcher” that the canvas or linen will be attached to.
Care must be taken to make absolutely sure that the stretcher is perfectly rectangular and not askew so that it will fit properly in a frame when finished.
The surface you decide to paint on is called the “support.” In this case I chose linen canvas because I happen to have a 30-inch wide roll of it that a fellow artist gave me many years ago. For larger paintings I switch to a 60-inch wide roll of cotton canvas.
Linen canvas is made from flax fibers while cotton canvas obviously comes from the cotton plant. It’s said that linen is the more durable than cotton but it truly makes no difference to me. From here on I’ll simply refer to the support as “canvas.”
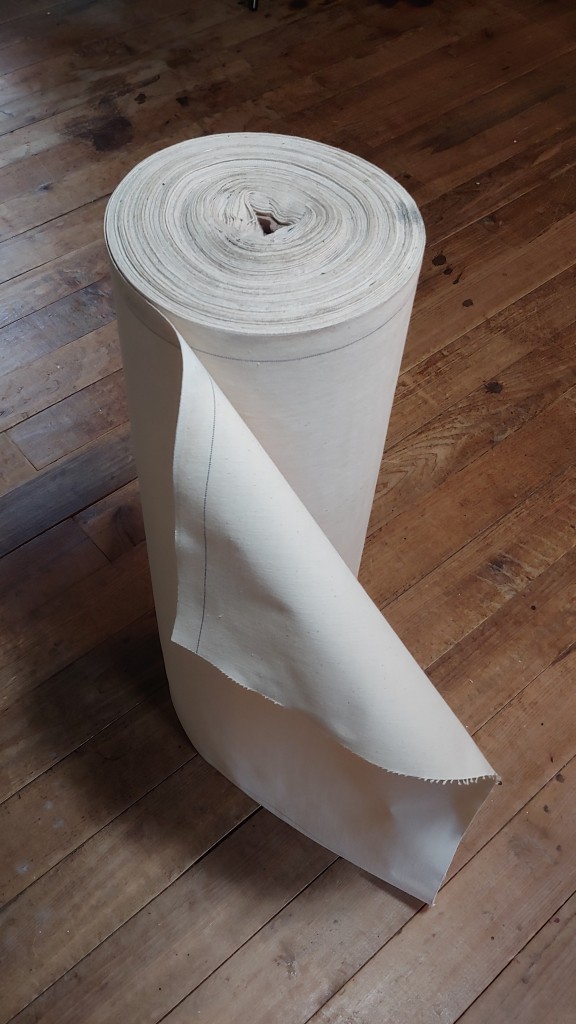
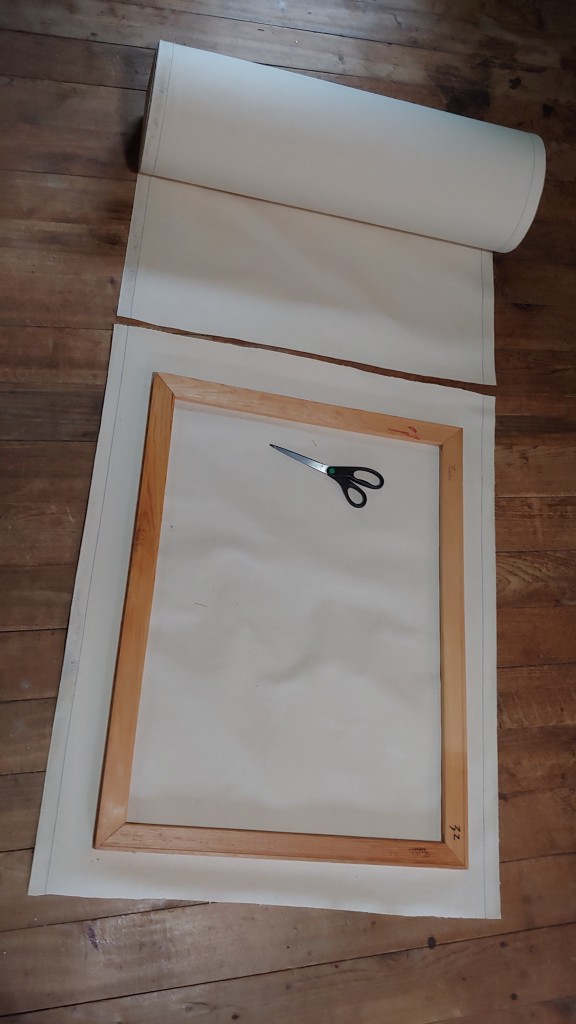
After assembling the stretcher bars I cut the canvas to the appropriate length.
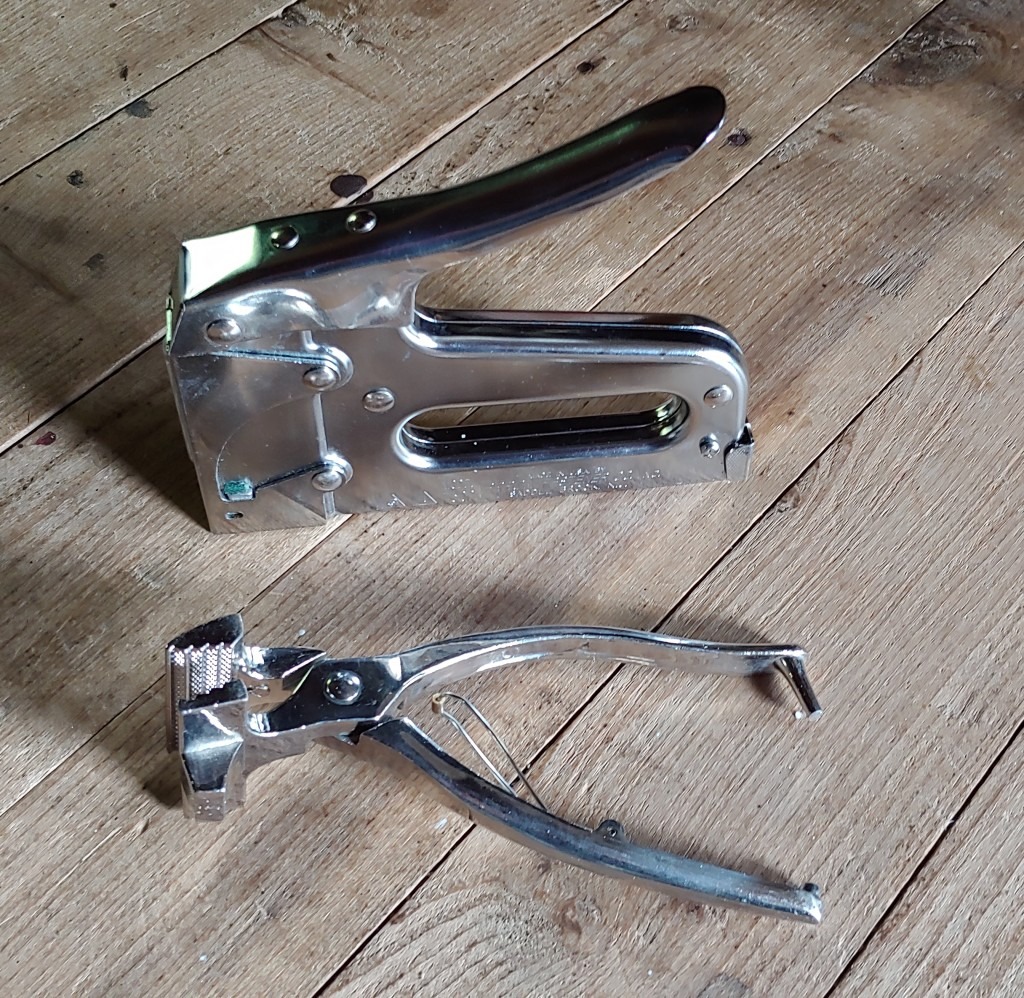
The canvas gets secured to the stretcher using special canvas pliers which pull it tight while stapling it in place. Nails or tacks would have been used in the old days.
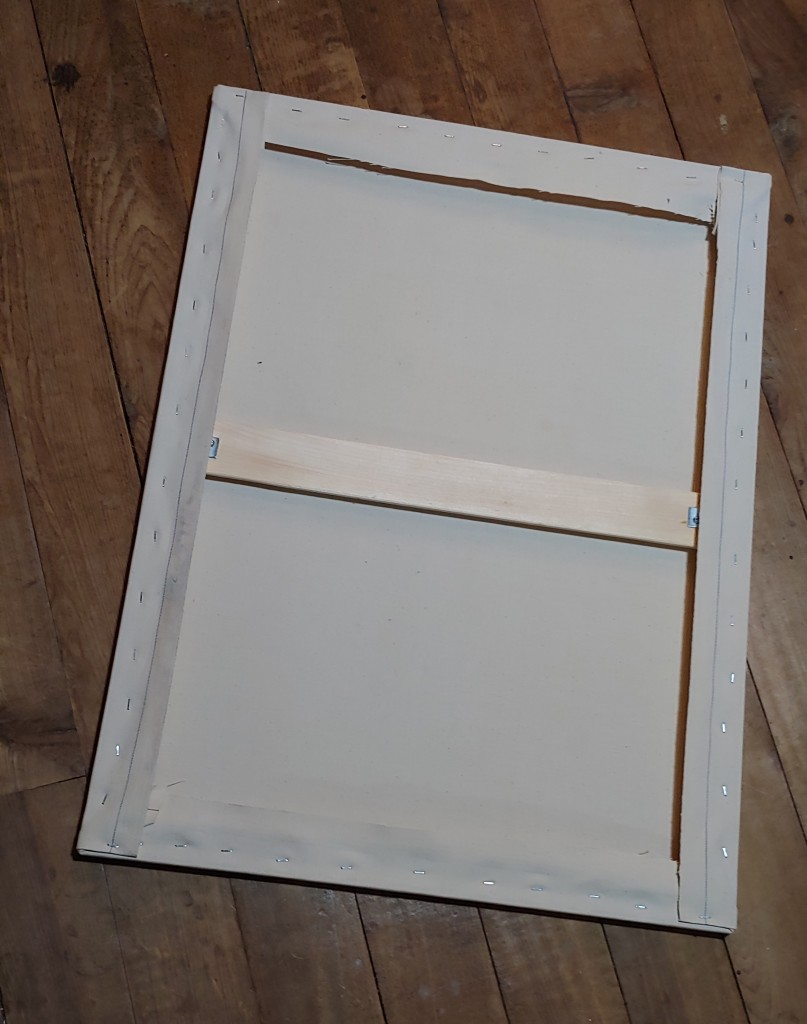
In this case I added an extra cross support which I’ll explain next.
Once the canvas is stapled onto the stretcher bars it’s time to prime it. Priming causes the canvas to shrink and tighten. This may cause the stretcher bars to warp, thus the need for the cross support mentioned above.
Unprimed canvas is too absorbent and rough for my detailed style of painting. To seal and smooth it I apply five or six coats of acrylic gesso with an old credit card, sanding each coat after it dries.
In the old days artists would have sealed their canvas with animal skin glue and smoothed the canvas texture with a coat (or coats) of white oil paint.

When a satisfactory surface texture is achieved it’s time to transfer the sketch onto it.
To do this I use an opaque projector in a darkened room. The sketch is placed in the projector making it possible to trace the enlarged sketch as it appears on the canvas.

Once the sketch is traced I begin applying the “imprimatura” which is a thin, washy layer of acrylic paint, that still allows the sketch to show through.
The gray-brown imprimatura provides a head start, so to speak, as opposed to painting directly on the stark white gesso.
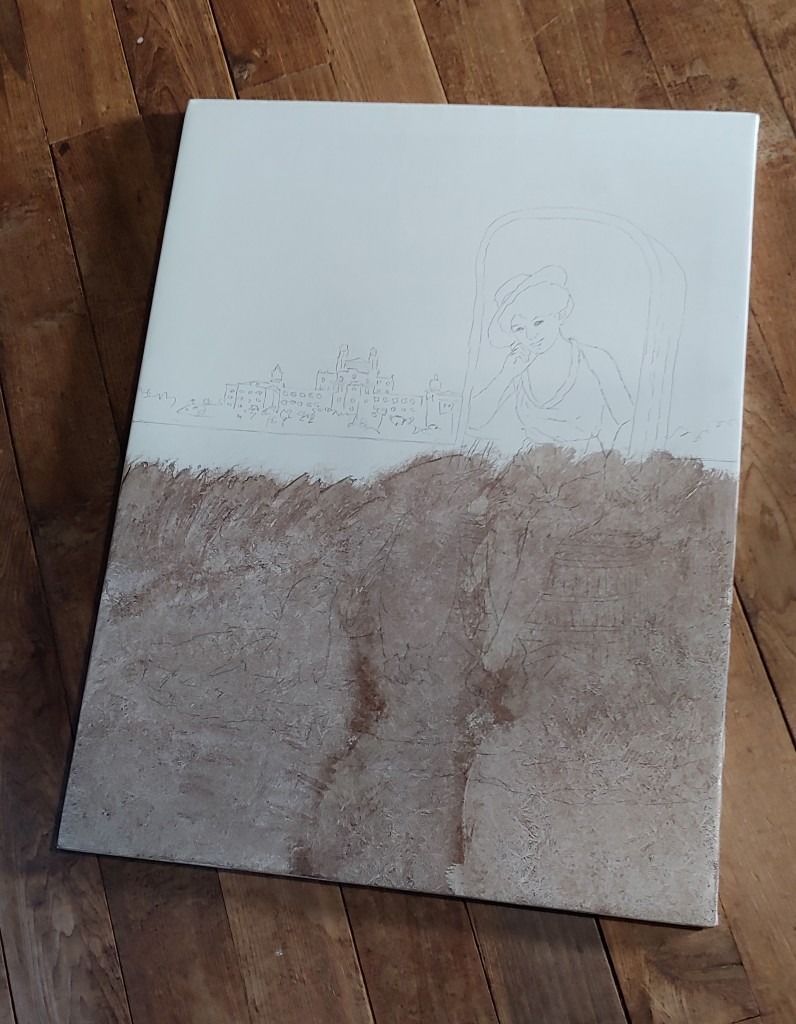
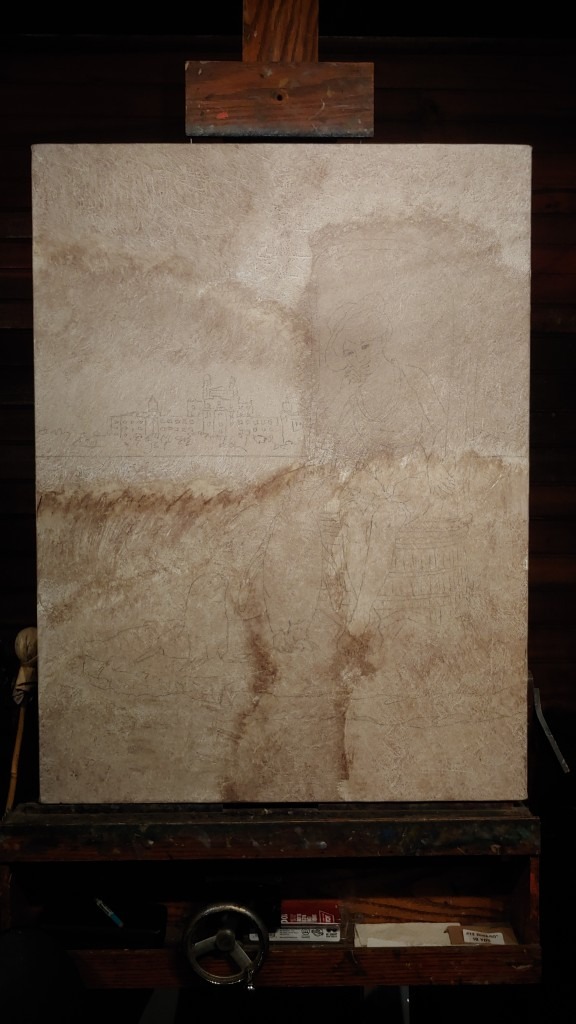
Now I’m ready to place the painting on my easel and get started.
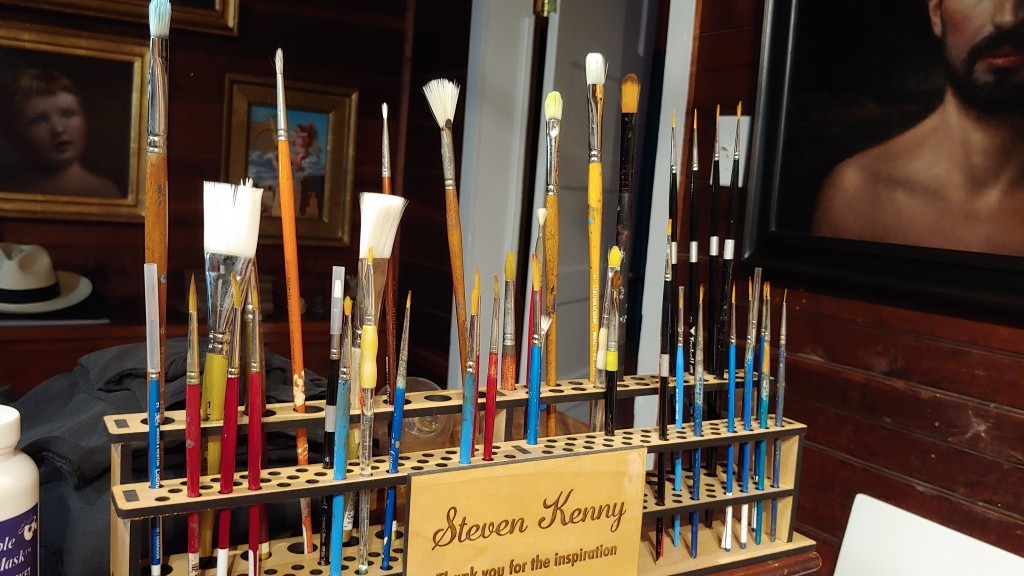
I own a wide variety of brushes – each type is designed to produce its own unique mark based on its shape and size.
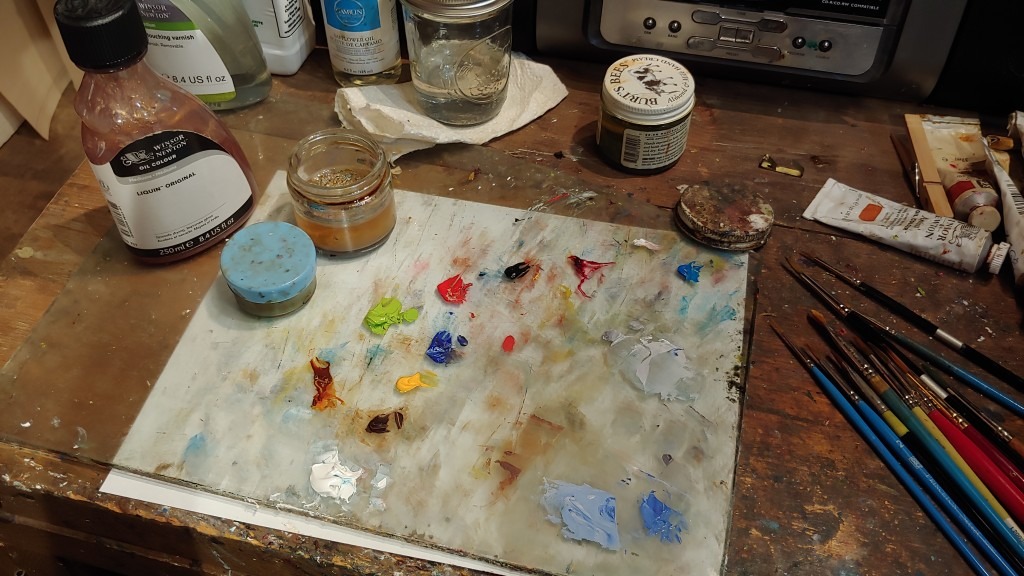
My palette is made of clear glass with a sheet of white paper underneath. Always close at hand is a small container of Liquin. This is my chosen “medium” which I blend with the oil paint to help it flow better. Without a medium the oil paint would be too thick. It also contains a drier, to speed drying time.
To clean my brushes I use an odorless product called Turpenoid Natural instead of turpentine which can be toxic.
From here it’s simply a matter of slowly adding layer upon layer of transparent paint, otherwise known as “glazing.”
It’s said that the Italian Renaissance painter Titian applied as many as 30 or 40 glazes before declaring a painting finished. I don’t have that much patience!
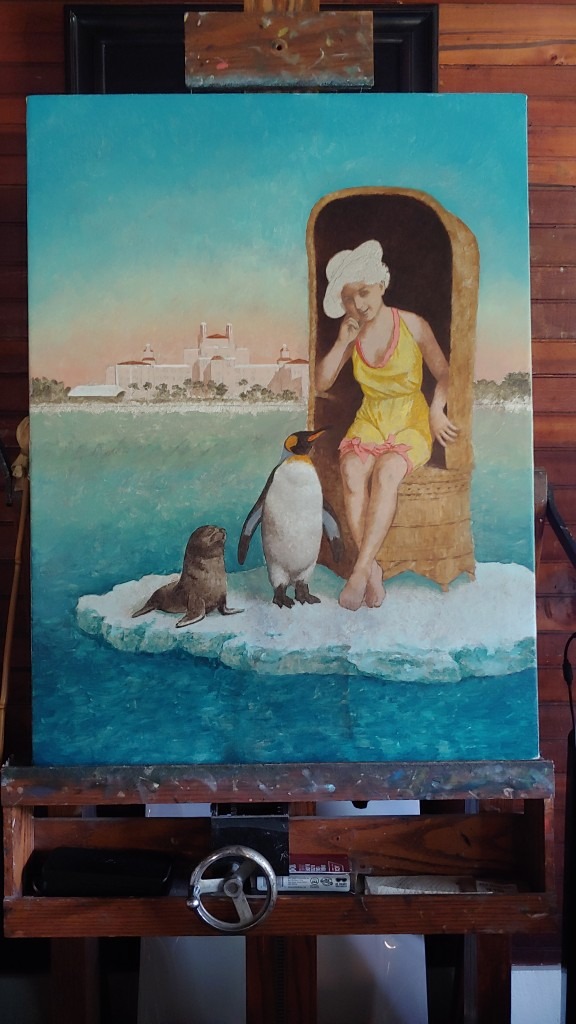
By adding glazes I build the image incrementally – adjusting color, contrast, intensity, value, etc as I go.
I work on all areas of the painting at once and avoid spending too much time on any one section. I also resist the temptation to add fine details – they are reserved for the end stages.
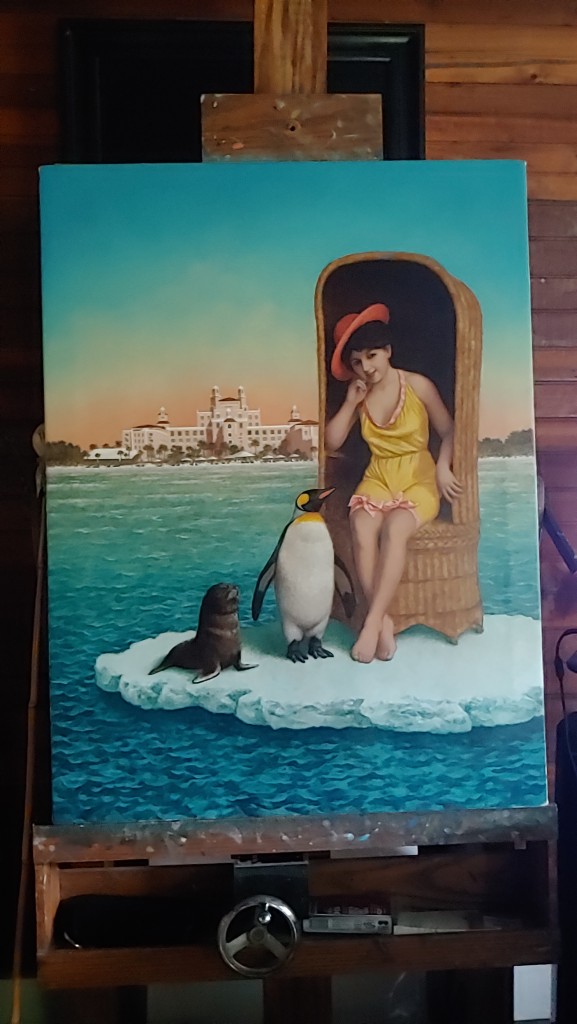
Occasionally, compositional elements may be taken out or added, as in the case of the puffin on top of the wicker chair.
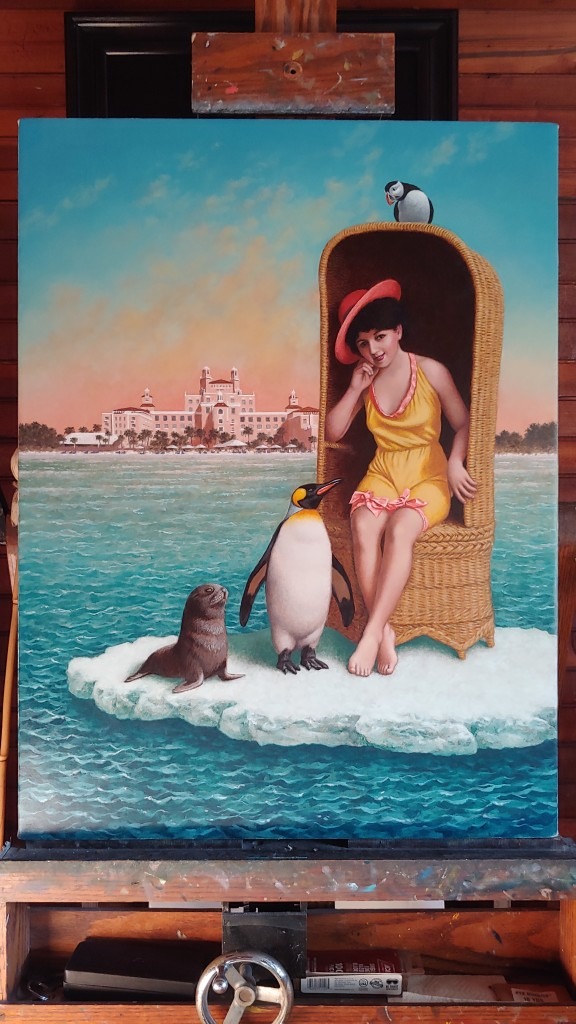
Towards the end of the painting process I shift my attention to the frame.
I have always made most of my own frames. I designed my own unique, wide profile which, to me, enhances the classical feel of my paintings.
A local lumber company “mills” 10 or 12-foot lengths of frame stock from poplar wood. I then cut lengths to sizes needed and assemble them in my woodshop.
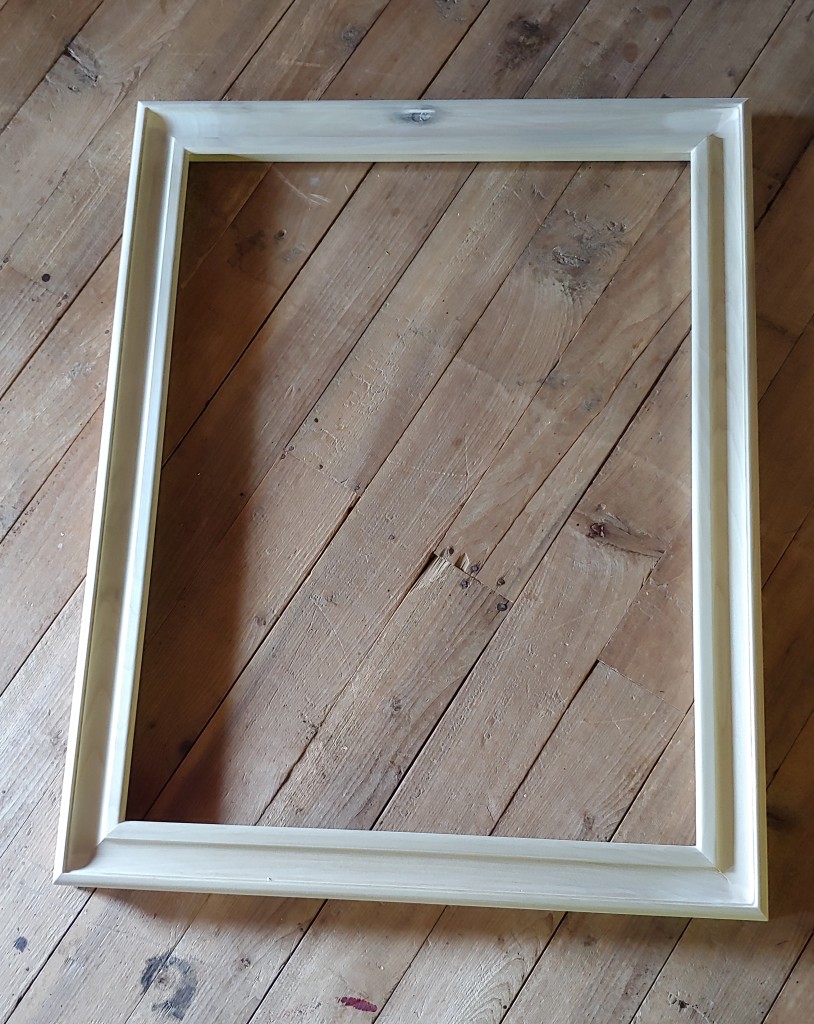
The frames are then either painted black, brown, or gold leafed (gilded) to compliment the intended painting.
In this case I painted the frame red knowing that I would eventually be gilding it. The red color adds warmth to the gold leaf.
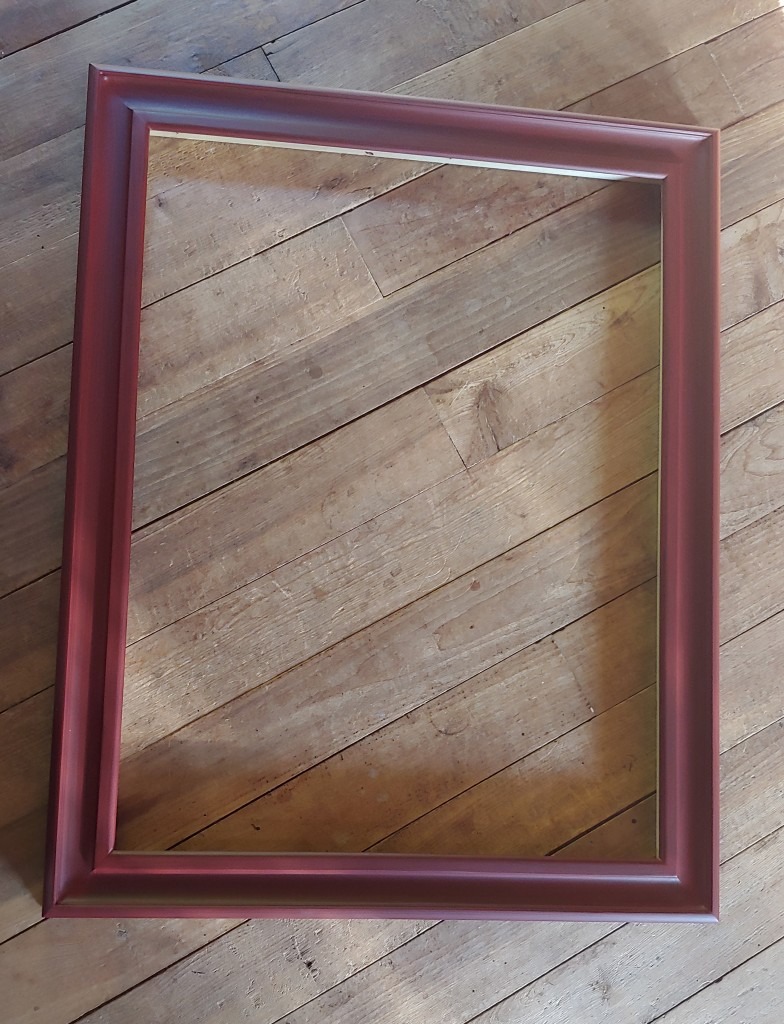
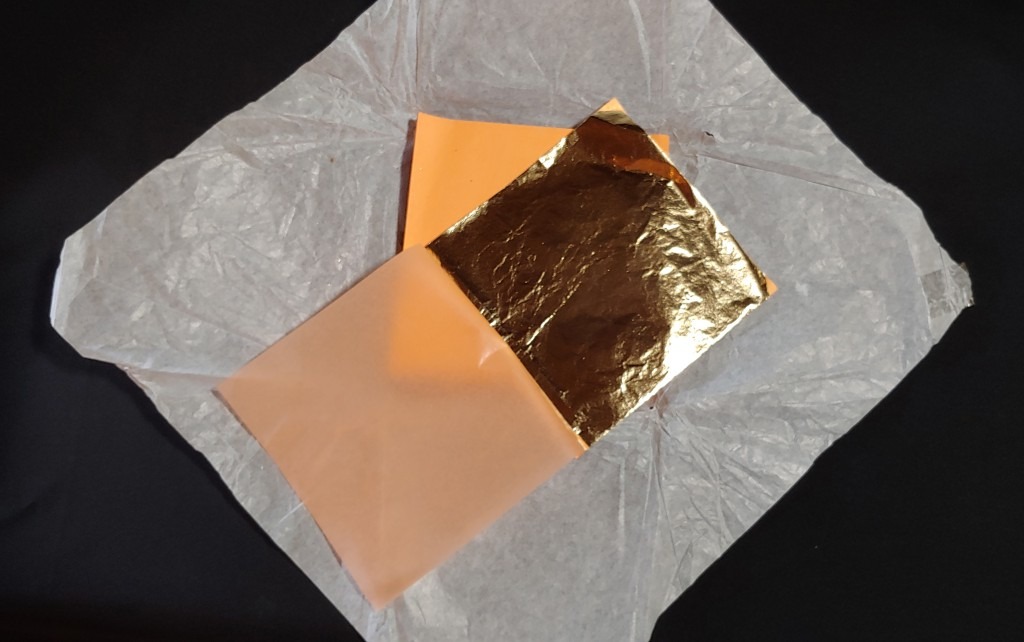
Instead of real 24-carat gold leaf I use “composition” leaf which is made from a combination of copper, zinc and brass. Much more affordable!
Voila! Finished and ready to find a home.
