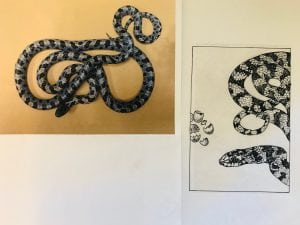
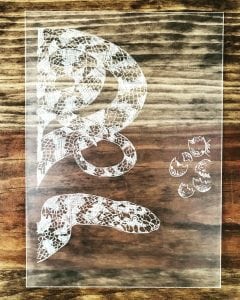
Dry Point Etching on Plexi-Glass
While i’m in the process of wrapping up the carving portion of large scale wood blocks, i’ve been working on a separate series of small format portraits of threatened and endangered species of Florida. I’m producing these via the dry-point etching on plexi-glass method.Typically I use the intaglio process for images that require more detail but I wanted to try a new method, especially a more economical method that doesn’t require dips in ferric acid. This is the first time i’ve used this method so I had to do plenty of research and experiment with the process. Needless to say, it’s been a refreshing change of pace and i’m looking forward to pulling proofs of what I have etched so far. Below are images that illustrate my process, minus pulling the print.