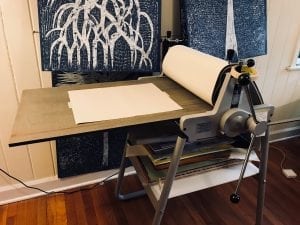
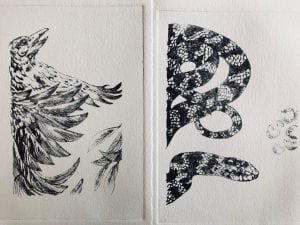
Preparation for Pulling a Plexi-Etching Print
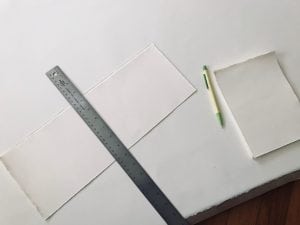
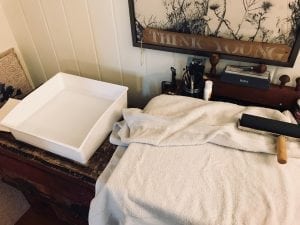
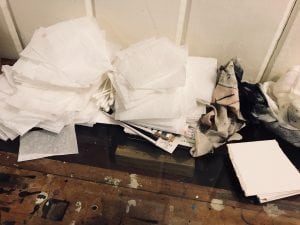
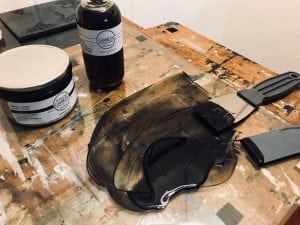
In a previous post I highlighted the process of creating a plexi plate etching. Since then, i’ve created 11 different plates–each highlighting a threatened and/or endangered endemic species of Florida. Once I completed the plates, my next step was to then prepare for the process the pulling prints. Below is pictures depicting the various aspects of prep required before producing an actual print.