Fun Grunt Work.
By Steven Kenny
Not many people know about my ongoing series of abstract paintings that I began creating in 2016. They are most easily described as “target” paintings. Each is comprised of concentric circles of varying colors and widths. They are a wonderful break from my typical representational style of painting and I love doing them. Now it’s time to do some more! Here is an example from the last batch …

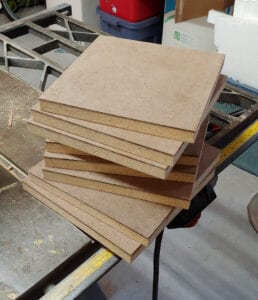
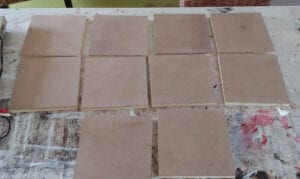
Before I get started on the new group I’ll need to prepare some panels. As with the above painting, I plan to use panels made by gluing one-eighth inch Masonite (aka tempered hardboard) onto five-eighth inch MDF (aka medium density fiberboard). This will provide an extremely stable panel with a very smooth painting surface.
After gluing the Masonite to the MDF I use my table saw and chop saw to cut 8 x 8 inch panels.
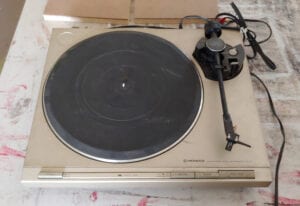
Painting perfectly concentric circles on such a small scale would be nearly impossible to accomplish freehand so some mechanical help is required. I went to a local thrift store and bought an old turntable.
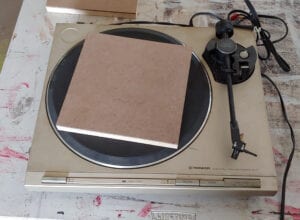
After drilling a centered hole in the back of the panel to fit over the turntable spindle I’m able to achieve the desired effect as the panel spins.
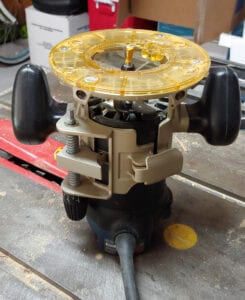
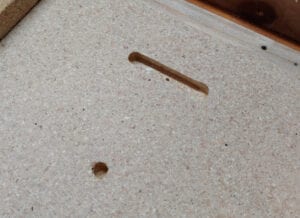
But before I can start painting in need to think about how these will hang on a wall when finished. I want them to lay flat against the wall and not tilt forward. I thought about just drilling a single nail hole but wondered if there was a better way. I contacted my very knowledgeable friend Nathan Beard who has a lot of experience with such things. He suggested cutting a slot into the back the same way plaques are typically hung. Luckily I had the necessary tools which include a router and beveled bit.

Now, as with painting concentric circles, trying precisely to cut a slot in each of the panels freehand would be impossible. So the next step was to make a wooden jig which would position and guide the router and insure that each slot was exactly the same size and shape.
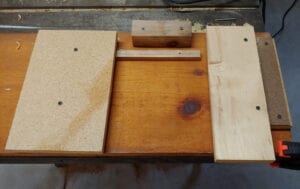
It may be difficult to understand exactly how the jig works by looking at the above photo. Suffice it to say, each panels slides in from the bottom and is held securely in place. The top block of wood allows the router to move horizontally in a straight line and the two side pieces keep it from moving too far left and right. The jig allows me to cut perfect slots in each panel in a matter of seconds.
Now I’m ready to start preparing the front of each panel and then I can start painting. Can’t wait!
Stay tuned!!