Preparation for Pulling a Plexi-Etching Print

Preparation for Pulling a Plexi-Etching Print

In a previous post I highlighted the process of creating a plexi plate etching. Since then, i’ve created 11 different plates–each highlighting a threatened and/or endangered endemic species of Florida. Once I completed the plates, my next step was to then prepare for the process the pulling prints. Below is pictures depicting the various aspects of prep required before producing an actual print.
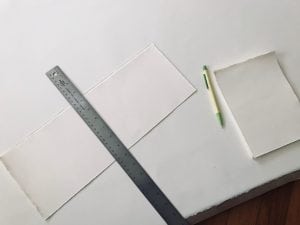
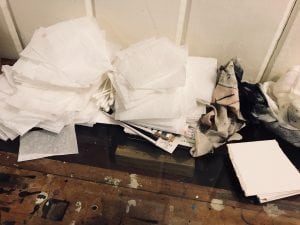
1st. I have to cut my large pieces of Rives BFK down to the appropriate size to fit my plate. I usually cut these pieces to have about a 1-2″ inch margin around the outside edges of the plate.
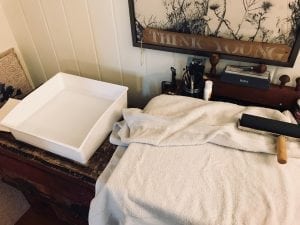
2nd. This is the paper soaking area. To the left is a tray filled with water that my paper will be soaked in. To the right is a towel I use to blot the paper before laying it on the plate.
3rd.Materials used for applying and wiping ink to & from plate. I use cut matte board to carve ink into the crevices of the plate and use tissue paper to carefully wipe ink away from the plate.
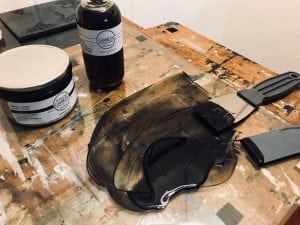
4th. Intaglio ink and burnt plate oil #2. I use about a 3:1 mixing ratio being 3 parts ink and 1 part oil. I work them together using a putty knife until I achieve an idea viscosity.
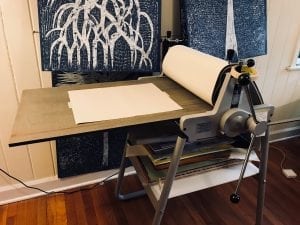
5th. My press with the pressure gauges set appropriately. I also lay a piece of newsprint paper down on the press bed which is where ill set my plate on.
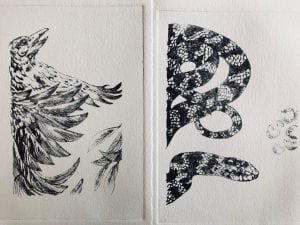
Proofs a.k.a Artist Working Prints


Leave a Reply

Become a Creative Pinellas Supporter